back to colour

Recent experiments in the dye studio!

folded fabrics in shades of brick orange and greenish brown

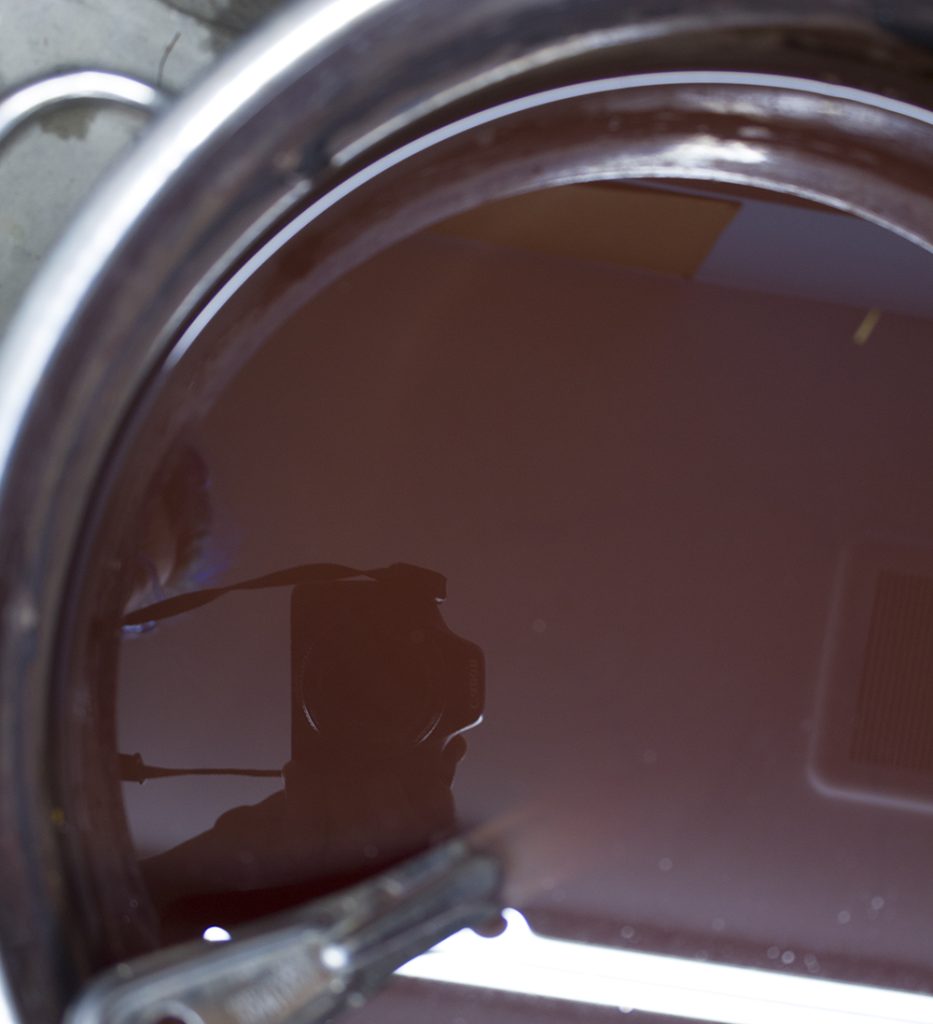
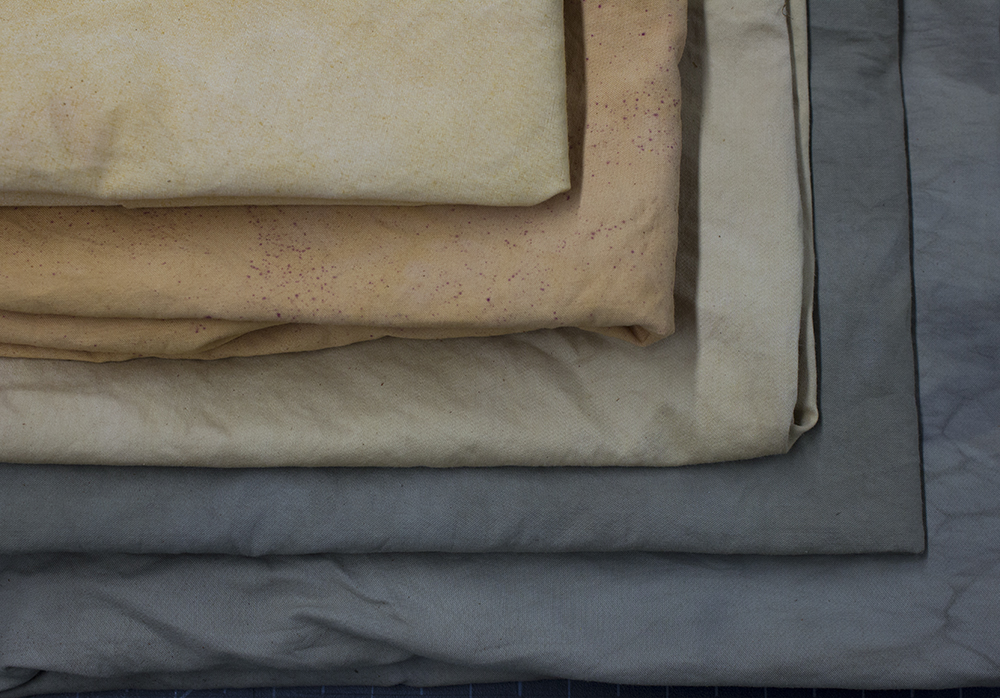
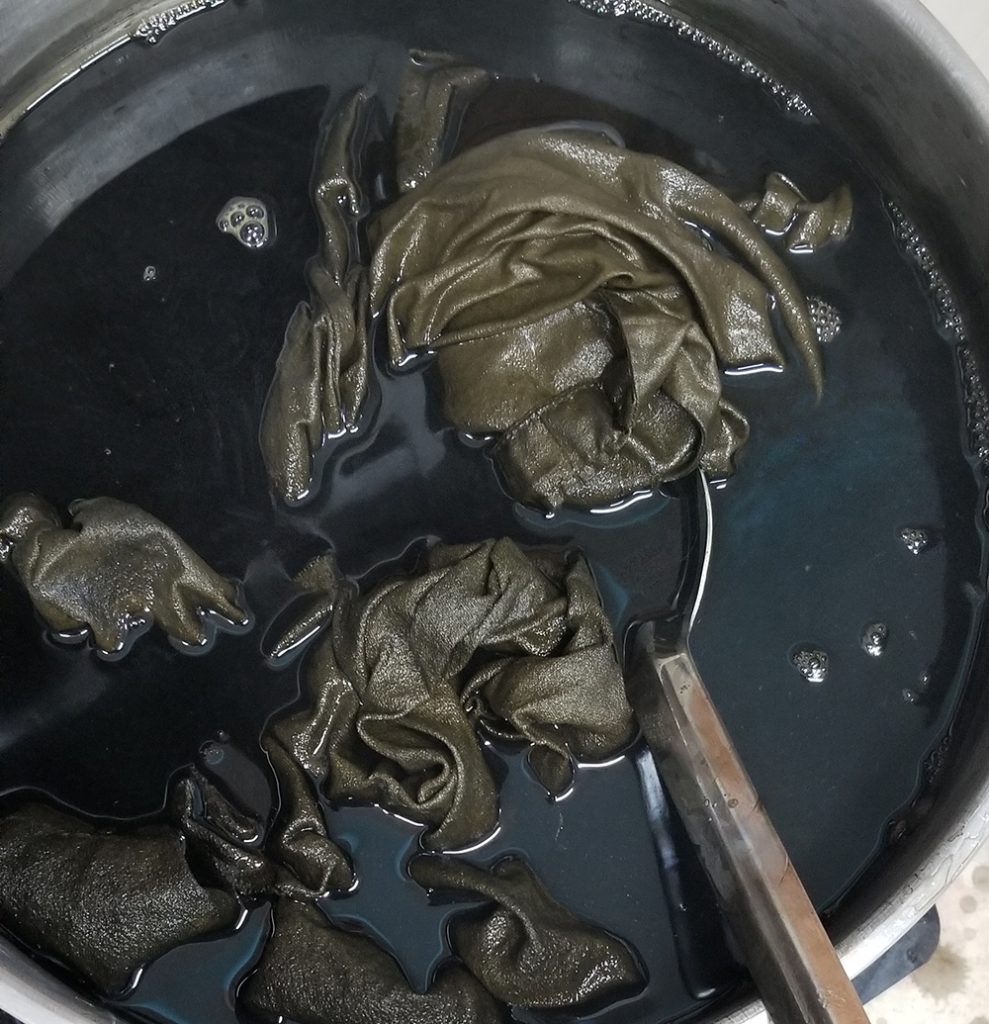
This is a cutch dyebath I recently made with Lisa of asil (link: asil.ca). We split the dye into two vats and added iron to one of them hoping for a good range of browns. The result from the straight cutch was predictable, a range of reddish brick tones (seen on cotton and linen in the above photo). The iron vat didn’t give the same warm chocolatey brown shade I achieved last year, when I dyed a piece of linen to make my partner some brown pants. Instead we got this almost charcoal gray brown drab, the result of going too heavy on the iron. I’m pretty much a master at this point of going too heavy on the iron, if this kind of clumsiness were the sort of thing over which one could claim mastery. You can see the too-iron-rich brown on both cotton and linen above.

fabric floating in deep yellow dye in a steel pot

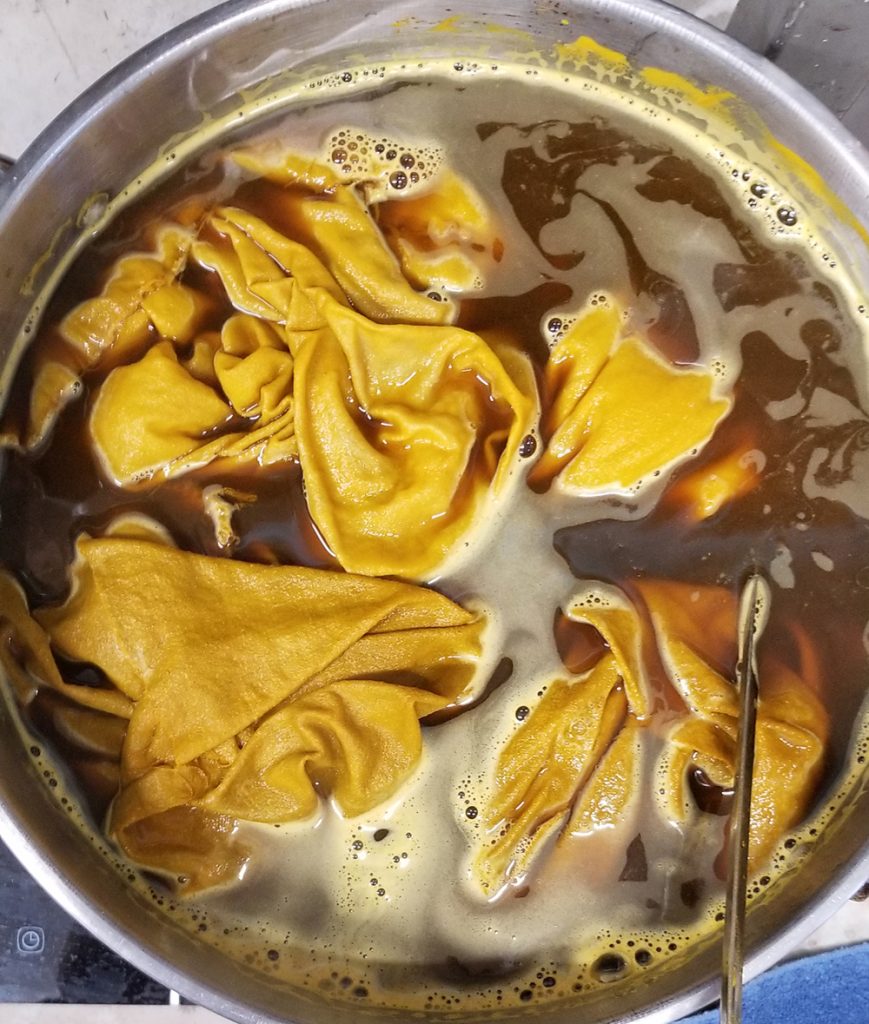
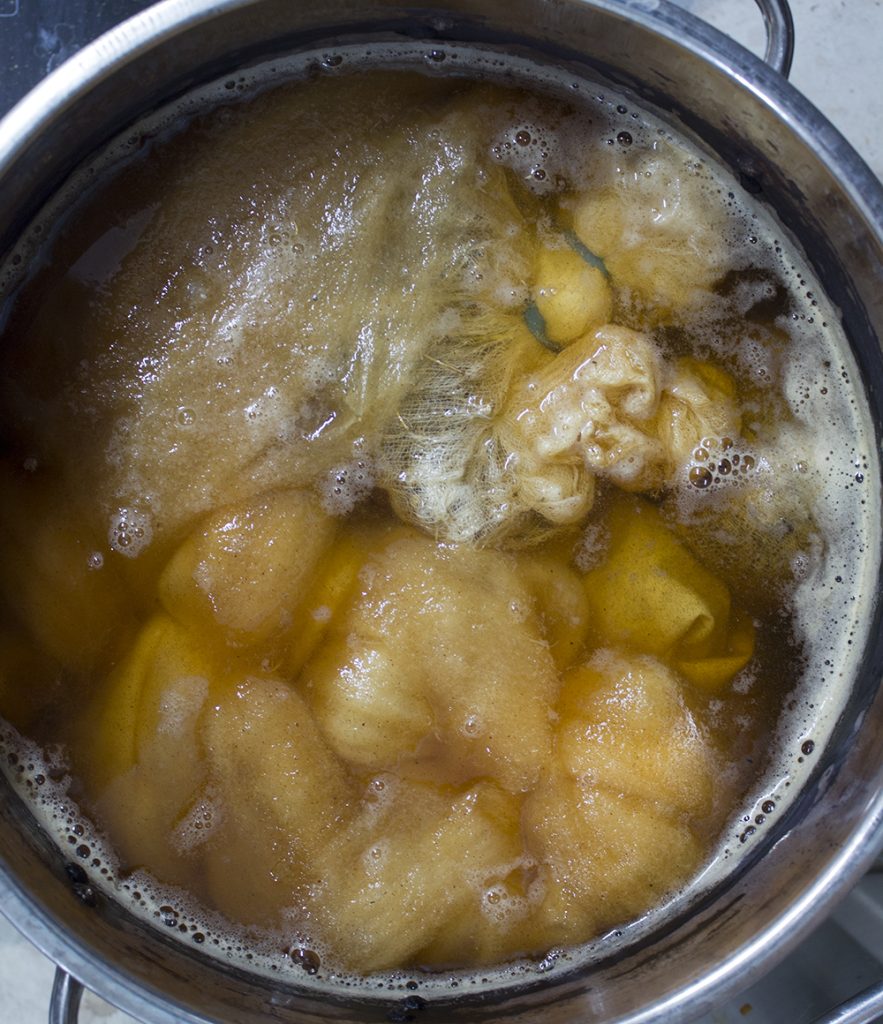
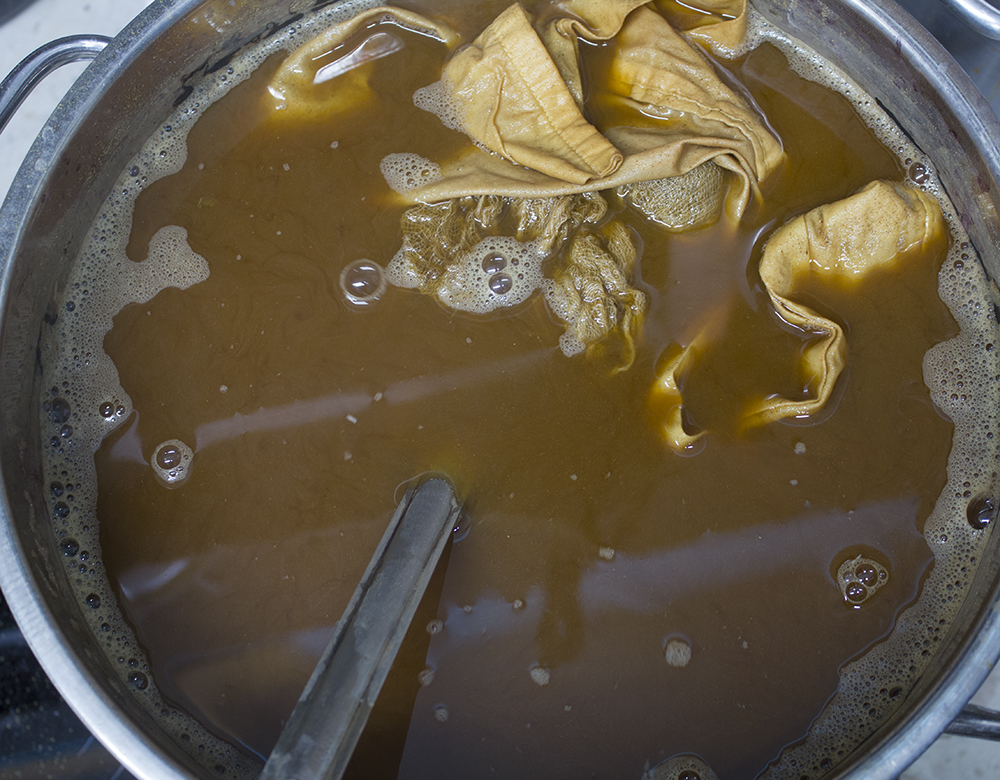
I’ve been having lots of success with this brew lately, and have finally hit upon an easy and abundant source of the swampy olive tones I so crave. This is a 50/50 vat of ground pomegranate skins and turmeric. I read about adding pomegranate to turmeric to improve its lightfastness in the guide to natural dyes published by Maiwa, a great resource and the place where Lisa and I buy a lot of our dyes (link: MAIWA). They didn’t mention proportions so half and half is what I’m trying. This vat just keeps on giving, exhaust after exhaust, and the colour is just WOW.

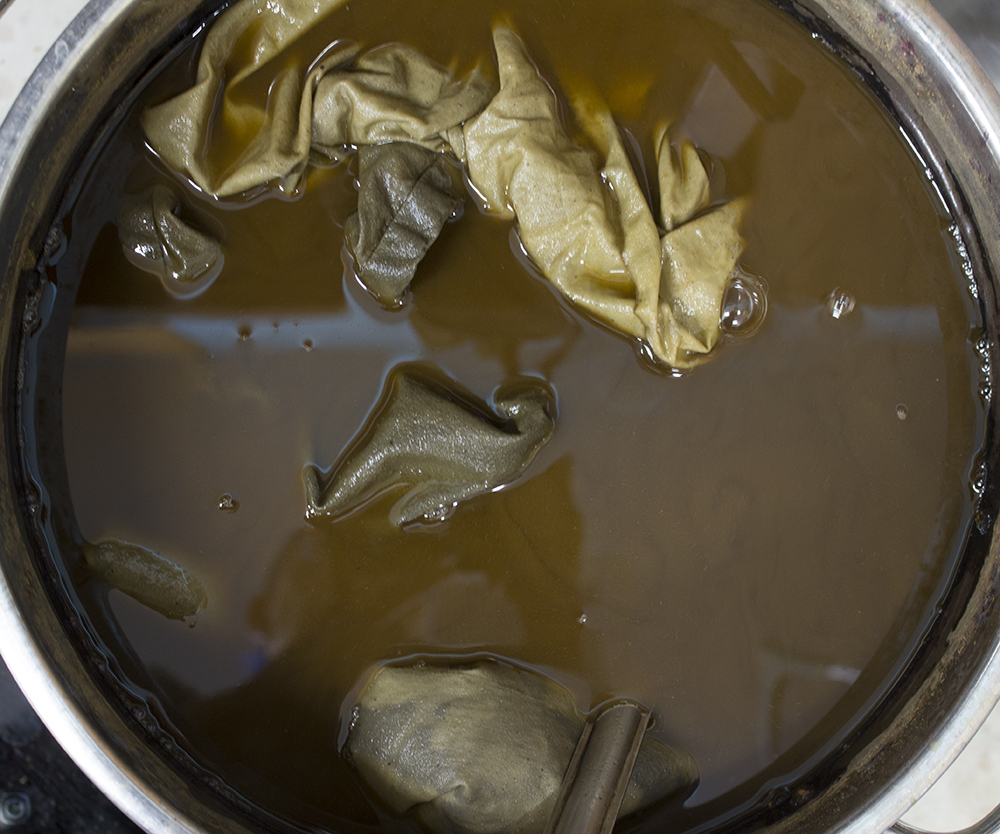
After the first load of glorious gold fabric came out, I reheated the exhaust dye and threw in this collection of cotton yarns, which all started out either white or very pale gray and had been gunked up with a myrobalan tannin in the mordanting process and a dip in iron water to produce dirty gray tones.

skeins of undyed cotton yarn in shades of yellow and gray

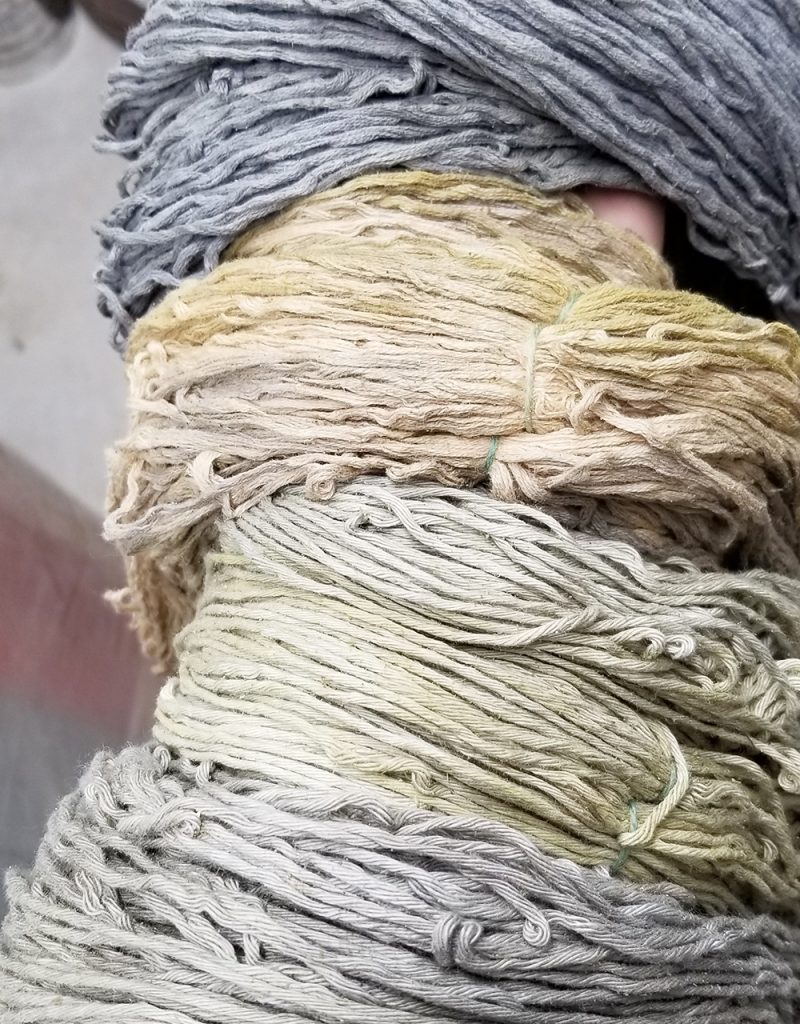
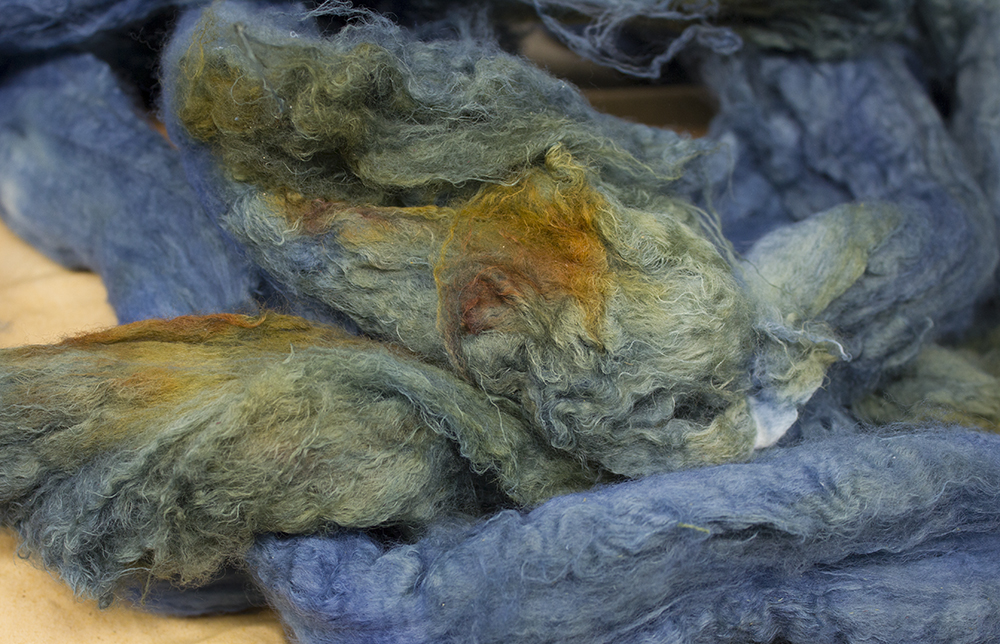
As I had hoped, the iron present in the yarns permeated the dye vat and shifted the whole thing to a murky olive green.

fabric floating in olive green dye in a steel pot

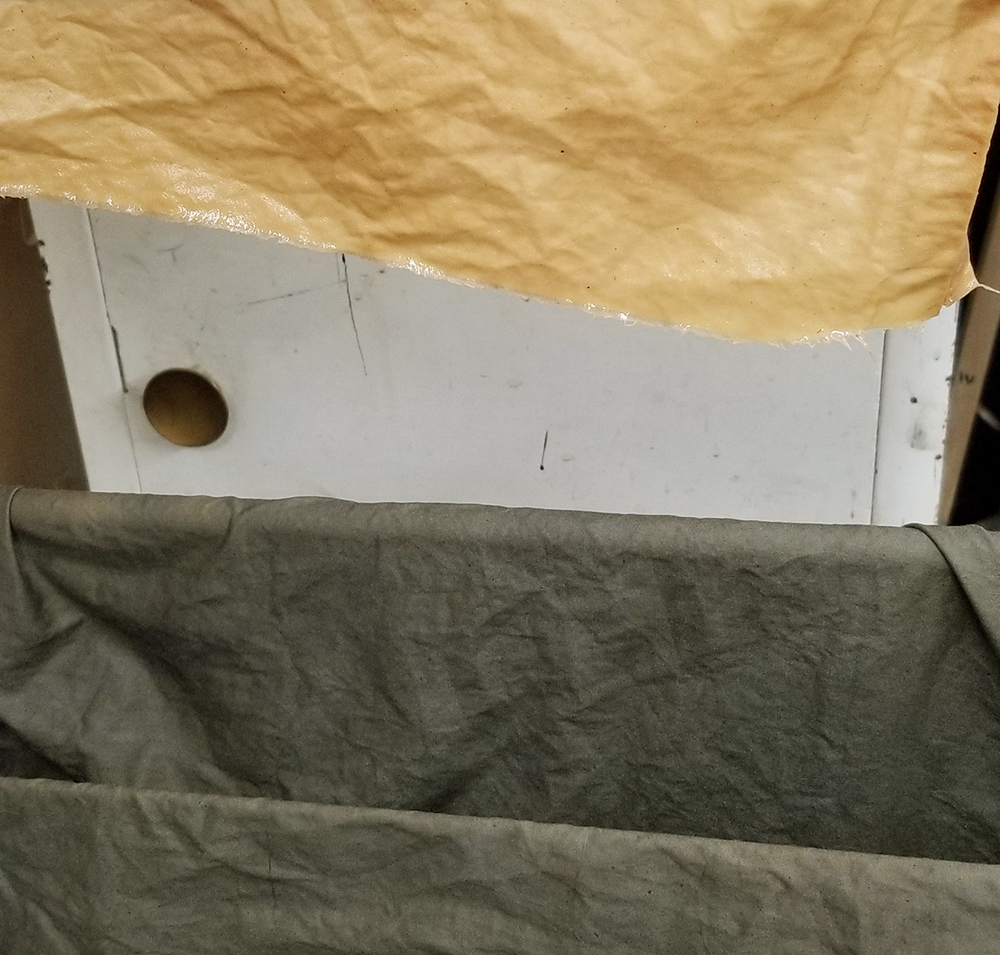
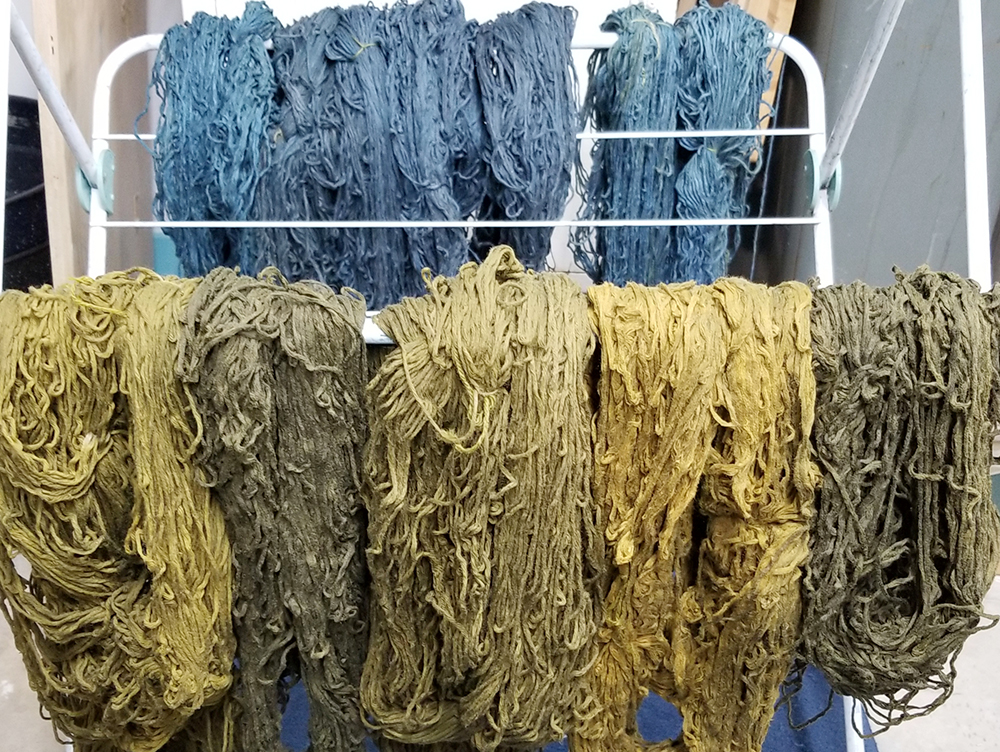
The resulting yarns, due to the variations in their iron content, came out a lovely range of the swampiest greens I’ve yet achieved. Here you can see them drying along with a set of the same yarns, pre-dirtied in the same manner and then dyed with indigo. This will probably be the bulk of my summer knitting as there’s enough yarn here for three warm weather sweaters.

skeins of olive green and indigo yarns hanging on a drying rack

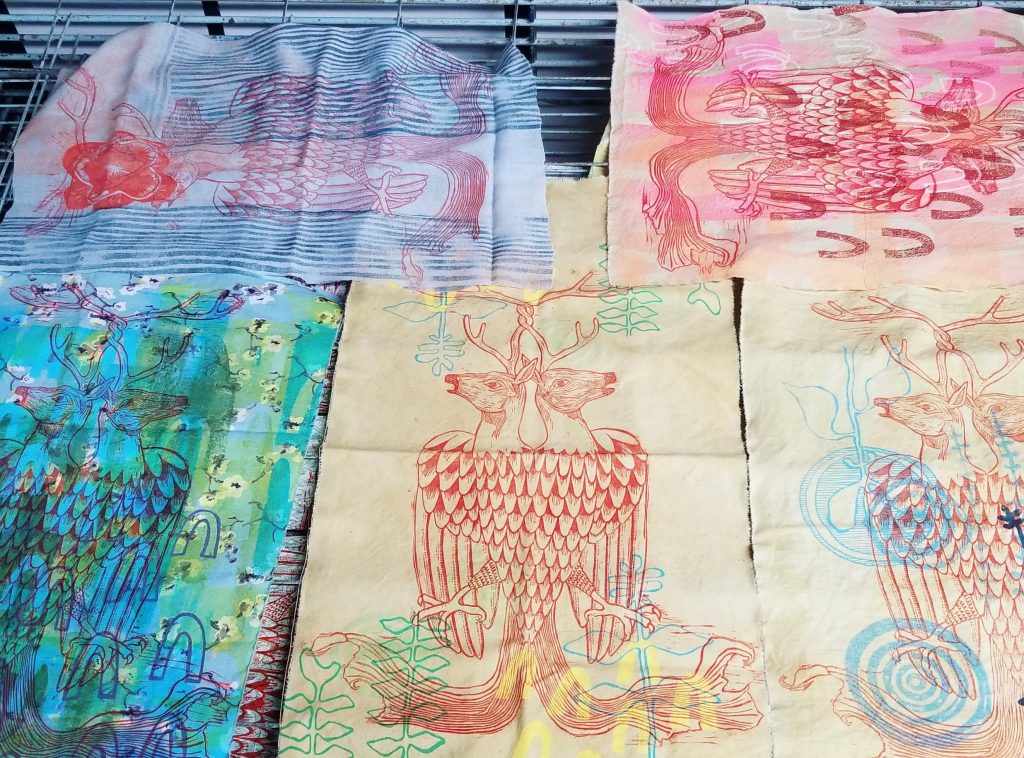
After the yarn came out of the dyebath it looked like there was still a fair amount of colour, so I heated it up again (exhaust #2 now) and dyed another load of fabric. Here are the resulting fabrics together in the rack:

gold and brown fabrics hanging in a drying rack

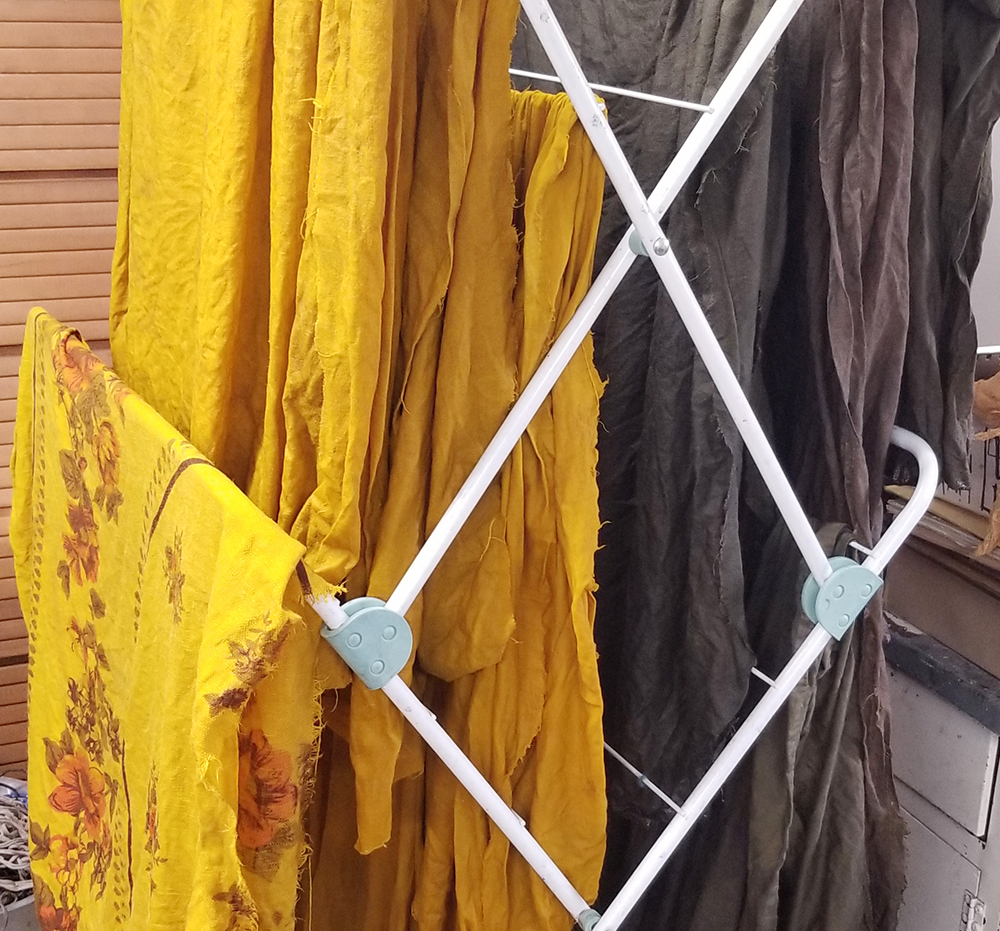
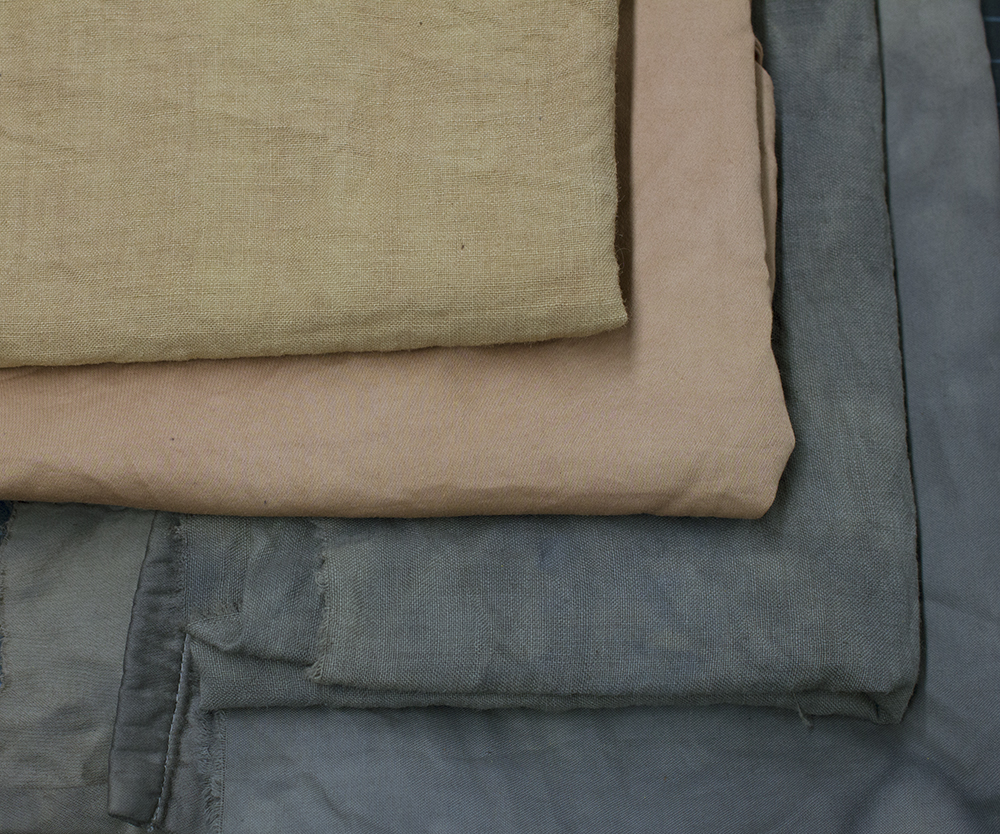
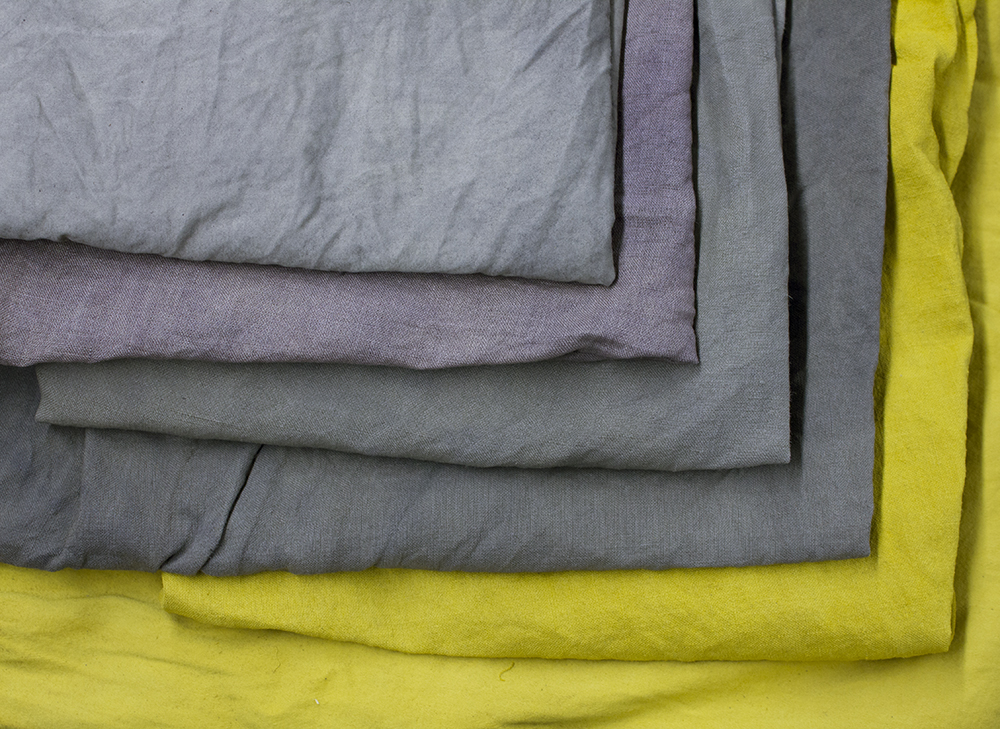
And the fabrics after drying, but before their final wash (which I try to put off for a couple of weeks if I’m not in too huge a rush to sew something). From the top, with iron on cotton, on handkerchief weight linen that had previously been dyed very lightly with madder root (red), two pieces of secondhand linen duvet cover that started out oatmeal colour, and the unadulterated turmeric-pomegranate gold on the same duvet linen, and on cotton bedsheet.

pomturm

I’ve since done a second round of this same dye bath and managed to get loads and loads of weird acid greens and paler sludgy olives. Pictures soon!

white noise in a white room

a carved linoleum block sitting next to a graphite rubbing of the block on paper, with carving tools scattered around

Here’s something fun I’ve been working on recently. It’s a lino block of one repeat of a brocade pattern for printing on fabric.

I needed some white on white, or nearly white, brocade fabric for a quilt series I’m working on (for an exhibition in September, more on that later). It’s not the exact pattern but it meant to represent the white brocade wallpaper in my maternal grandmother’s living room. This particular pattern is taken from a certain style of gold brocade drapes from the 1970s that must have been everywhere, based on the sheer volume of them my partner and I used to find in thrift stores in the 90s. Those were our Society of Creative Anachronism years, and I still have my glorious Russian shuba (full length overcoat with “fur” trim) made from this, as well as a beautiful but unfinished court sarafan hanging in my closet. My ulterior motive for using this pattern for my quilt project is that I will be able to print other fabrics with the block later on, in particular a set of old fashioned pinch-pleated drapes for our bedroom.

For now, though, I’m printing it in white on a variety of not-white fabrics, mostly thrifted cotton bedsheets, that I’ve made not-white by boiling in coffee (the absolute easiest and best smelling way to make white just a little less white) and a more grayish not-white by adding tea and a bit of ferrous sulfate to the coffee.

a brocade pattern printed in white ink on off-white fabric

This was my first attempt, with janky registration and a hole in the fabric that I printed right over, and yes, this piece will probably end up in a quilt, hole and all. I’m not at all worried about the registration for this project, although I’m quickly getting the hang of getting the block lined up. There are things I could have done in the planning stages to make registration easier, but oh well. I’m kind of a messy printer at the best of times.

I didn’t do anything to clear out the chatter on the block, and I’m pretty happy with how it fills up the space between motifs in the fabric. Accidental marks are so often the best kind of marks, in printmaking.

Here it is printed on the pale gray where the contrast is actually enough to be able to make it out on screen. The paler fabric is visible on the right, a level down in the drying rack.

pale gray and white brocade fabric lying on a steel drying rack

perpetual dyebath

I decided to give over one of my dye pots to seeing what happens if a dye is kept going and added to over time. I started with a little pile of leftover dyestuffs, 100g each of coreopsis flowers from the garden, osage chips, sappanwood chips, buckthorn, and eupatorium, that I had used to make extracts for printing pastes. Cooking up those leftovers yielded a lovely soft orange.

pd01
Here’s some wool roving, linen, and cotton simmering in the vat.

pd01indigo
Here’s that wool roving overdyed with indigo; the deep orange spots are where the cheesecloth bag of coreopsis was nestled up against it.

On the second day I added a teaspoon of lac extract. It made the orange deeper but left tiny red dots of undissolved dye everywhere.

pd02
Enjoy this camera reflection in a reddish vat.

On the third day I added some henna powder and a cheesecloth bag of dried, shredded eucalyptus leaves along with a bit of spent logwood dyebath to top up the liquid. I don’t recommend combining henna and eucalyptus unless you like your studio to smell foul for days. But it shifted the dye back to a nice light orange.

pd03

Here’s a photo of the 3rd day fabric in the drying rack. I treated half the fabric in 2% WOF ferrous sulfate and shifted it to that dull olive below, which got me so excited I dumped the rest of the ferrous solution into the dye vat and stripped my dress off and tossed that in too. The dress didn’t get dark enough and had to be dyed one more time, and now my perpetual dyebath is tainted with iron. Whoopsie!

pd3fabric

Here’s that 4th iteration of the vat with the iron added and the dress and other fabric simmering.

pd04

And here’s the fabric from the first four days. From top: the original orange; orange deepened with lac extract and tiny red spots of undissolved lac (not sure until it’s been washed out whether those spots are permanent); a different orange from a smellier vat; smelly orange dipped in 2% ferrous sulfate; olive drab from ferrous added to the vat.

pdresults1to4

Now this vat will be for mucking up and saddening too-bright colours, until enough of the iron is exhausted that I can start shifting the vat back to happier colours.

studio update

I’ve been moving furniture and presses around in the studio for the past month, trying to figure out a way to get the natural dye operation into the same space where the printmaking and bookbinding happen, because it’s the space with all the good lighting and the ventilation. It’s a big, exhausting job. But it’s starting to feel like it’s going to work out, and it’s shaping up to actually feel more spacious than before. If I can find somewhere for all the STUFF to go.

studioprogressjanuary30

This is what the south wall looks like as of yesterday. I moved that gray table on the right, with the extremely heavy Nolan flatbed press on it that’s too heavy for Peter and I to lift together anymore, all the way over next to the doorway by shifting and scooching, shifting and scooching kind of like how the Easter Island heads were put in place. That was literally the only work I could do that day. Then the press table, which used to jut out into the middle of the room, got pivoted against the wall (with that Chandler & Price Pilot press on it, which is very heavy but not too heavy to lift), and the drying rack in the corner also pivoted 90°. And suddenly this whole space feels wide open, and for the first time in this studio all the letterpress furniture and spacing is on the same side of the room as the presses. Now I can’t wait to get back to printing in here, except for the chaos I’m not showing you over on the other side of the room.

That handpainted Tabor Metal Fabricators sign came from the business my Granddad came to Canada to operate. They made those truck trailers that carry cars, and when the business folded my tricycle, which my dad had taken into work to fix, got abandoned in the locked-up building and when I was a teenager I would regularly stop by that still shuttered building on my jaunts through the industrial park, peering through the murky windows trying to spot my trike in all the abandoned junk that was in there.

I use that sign to block the studio doorway, moving it into place every single time I leave the room so this very cute asshole won’t try to come in and poop on the floor. She has a thing for concrete.

wandainthestudio

Don’t let that sweet face fool you. This is an absolute monster.

the things i do for money

A white woman's forearm wearing a stack of hair scrunchies in blue, bronze, and orange tones, in front of a blue backdrop.

I delivered this witchy, moody collection of luxurious silk scrunchies to asil yesterday (link: asil gallery and studio). They’re hand printed with some of my lino blocks, and dyed with indigo, coreopsis, avocado pits, comfrey, and iron. I’ve been using them to wrap up my bedtime topknot and the silk is so gentle on my hellaciously unruly curls and I feel like an old-timey movie star going to bed wearing such elegant accessories even though I’m usually also wearing a stretched-out tank top with ceiling paint on it.

Silk hair scrunchies in blue, bronze, and orange tones, on a blue backdrop.

fabric printing

It’s been difficult to muster up any motivation to work in the studio with all the summer art fairs cancelled. I feel fortunate that I made the decision to close my brick-and-mortar shop just before Coronavirus put a stop to normalcy, but it doesn’t feel like there’s any urgency to make new work. These prints are stalled in the early colour stages with about half of their screenprinted colour layers printed, still a ways from having their linocut key layers added. In the meantime, I printed them in red on some previously printed fabrics. Thinking about a bright, blinding quilt.

_IMG_000000_000000

IMG_20210101_111453090